


Week 3 - Advanced UV Mapping
- Manan Sarkhedi
- Nov 17, 2022
- 2 min read

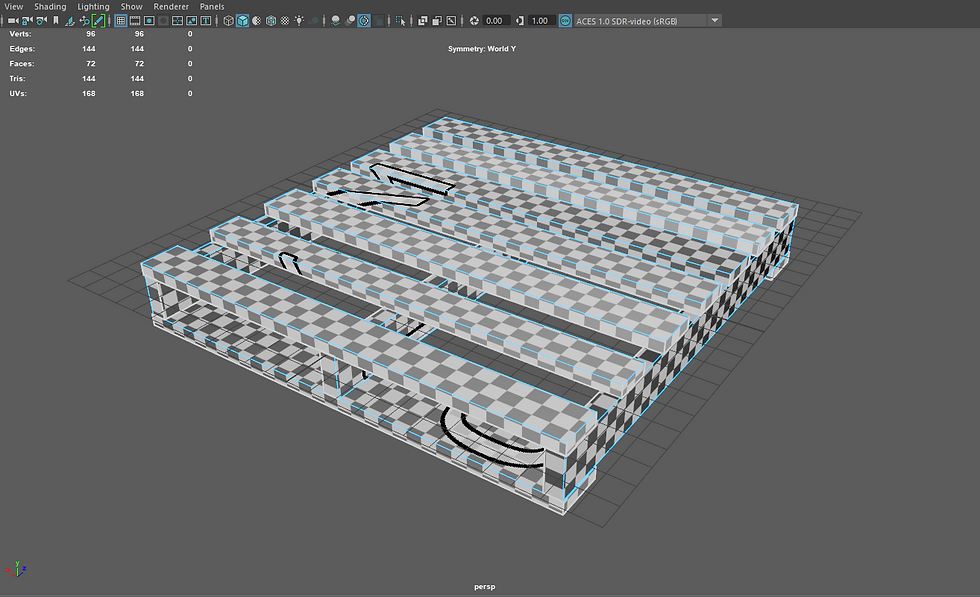
Introduction to UV mapping - Week 3 started with learning the basics of UV mapping. UV Mapping is the process of transferring a 3D mesh from a 3D model to a 2D space to further texture the model. We started with a simple object made of a bunch of cuboids that were the same in size. We learnt about the UV editor and UV toolkit, and I projected the UV map with an automatic planar projection, made a seam, unfolded it and stitched together everything a shell and duplicated it on the other objects with transfer attributes. It gave me the basic idea and tool for the process of UV mapping.

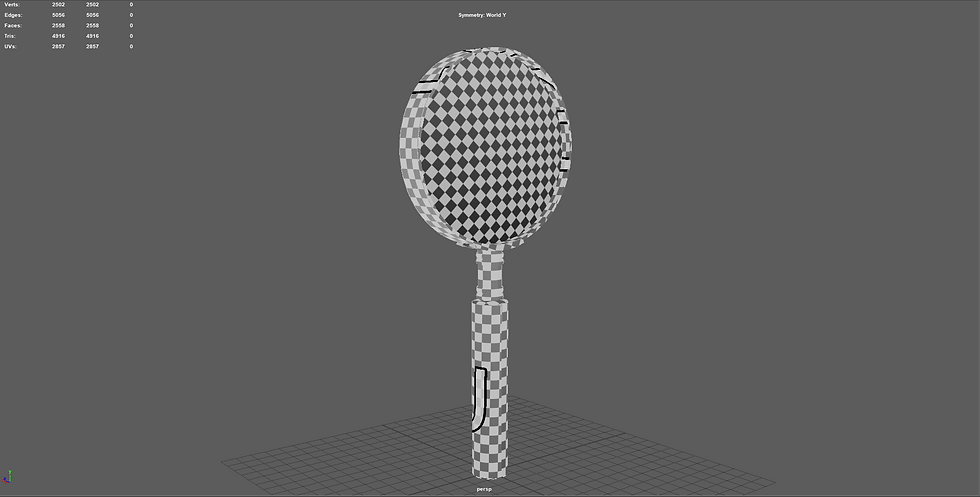
In the class we worked on another model as well, which was the magnifying glass. It gave me more of an idea on how to work with different shapes like the cylinder. I understood how to unfold a UV map without it distorting too much. I also learnt about texel density which is the texture resolution on an object in comparison to the real-world size of the object. and matching texel density in the class.

In my independent study hours, I worked on the pill rig model from the internal tutorial. It was a good basic character to start with, as it gave me an idea of how to work with limbs, where to put seams in a character and working in symmetry. I also learnt about layouting uv shells and exporting the UV map into photoshop and creating a texture to place onto the character.


After the character I wanted to try a hard surface model, so I got the shotgun from internal tutorials. The topology of the gun was not very good as it had a few Ngons. But it was a good model for the UV mapping exercise. It had a lot of small components that needed a UV map. And I working on this I learnt that not every aspect of a model needs the same amount of texel density. If it not going to be very visible, it can have low density. I also feel like I may have created a few more UV shells than necessary.


The last model I used for out UV practice this week was Hellboy. However, I felt just UV mapping his body was enough practise for the week and mapping his clothes would just be more time consuming. And I forgot to mention how boring UV mapping is. It was a complex object with a muscle structure and required a lot of seams. However, after comparing my model to Richard's I realized I made the same mistake of adding more seams than needed, especially on the face and maybe also an extra seam on the limbs. But I think I got the idea of UV mapping and how to do it more efficiently.


Comments