


Week 4: Character Design and Sculpting in ZBrush
- Manan Sarkhedi
- Nov 17, 2022
- 3 min read

Updated: Nov 24, 2022
This was the week 1 of zbrush taught by Carlo Bautista. It was an introduction to zbrush and character design.
Exercise 1 - Think of a character
We had to make a group and create a character by using a questionnaire to help detail a character. We wanted to make a weird and whacky character that was cute and kind of funny. And monkeys doing human things is always going to be funny to me. So, this is the character summary that we came up with.
A space explorer who baby monkey who explores planets on a tricycle in search of candies and bananas. It was weird but we went with the idea anyway
And here's the references:

Before starting to work on zbrush we were asked by Carlo to make a silhouette of the character we wanted to make to give us an initial reference point. Here are a couple of silhouettes I made:
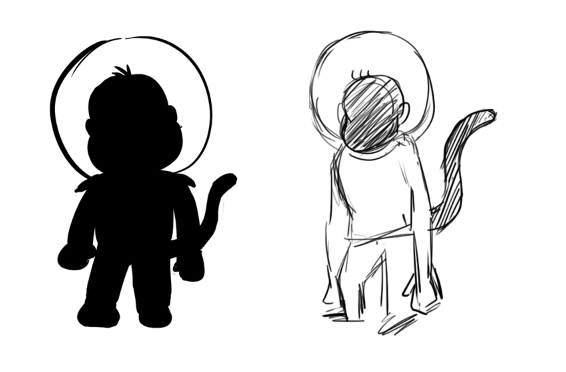
After starting to work on my monkey, I realized it would be too complex for my first model, so I just started trying to make a normal monkey that was a bit stylized. In the class we were taught the basics like navigation, selection, some basic tools like the gizmo tool and some basic brushes like the standard brush, move brush, clay build-up brush etc. I felt it was enough for me to try and make my own model. So, I blocked out the character with the move brush.

In my Independent study hours, I go used to the software and also learnt different functions like the sub tool functions and importing reference images. I watched Mike Davies ZBrush Introduction, Part 1 from the canvas and Getting Started with Sculpting in ZBrush by Flippednormals to learn some of the basic stuff.
And after the support session with Richard, I cleared up a lot of my doubts and issues with the sub tools and importing reference image. The final image did resemble a monkey and the form looked fine, but I spent a lot of time just reaching this stage and did not want to detail it further.

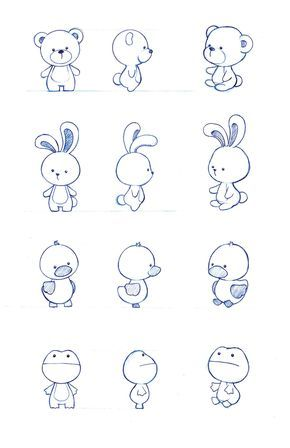
After the monkey came the bunny, my second attempt. I went to Pinterest and found a character sheet that I thought was perfect because it was cute and easy to make and would help me further my experience.
I used the move brush to make the basic shapes and as this bunny contains of pretty basic shapes, blocking it out was easy. To make the ears dented I used clay brush and reversed it and to make the design on the torso, I used the clay build-up brush.
I liked how the ears and the face turned out, but I feel I could have done better with the arms as they felt like they were over the torso instead of being a part of it. Also, I felt this character was really simple, but it got me started and I am happy with the rest of it.
Character Design - by Naoko Mullally


https://pin.it/5Ls7FIE
A space explorer who is a baby monkey that explores planets on a tricycle in search of candies and bananas. It was weird but we went ahead with the idea anyway.idea anyway.dea anyway.ea anywayad .ea anyway.a anyway. anyway. anywayanywaynywayywaywayanywaynywayywaywayayood starting point for me. I used the techniques taught by Carlo and Richard about blocking the character and adding the basic details first like the eye socket and ear placement.
During the time of making this character I learnt the basic of zmodeler through Michael Pavlovich's tutorial.
I also found out a brush in zbrush that was really helping me add definition, the dam standard brush.
And another tool that I learnt how to actually use while making a character was masking. I knew about its existence through the interface tutorial but learning how to use it really helped. This was all I for the week. I did not end up completing the model, but I felt it was coming along quite well.

Comments